Step-by-Step Guide to Deploying a Laravel App on AWS with Laravel Forge
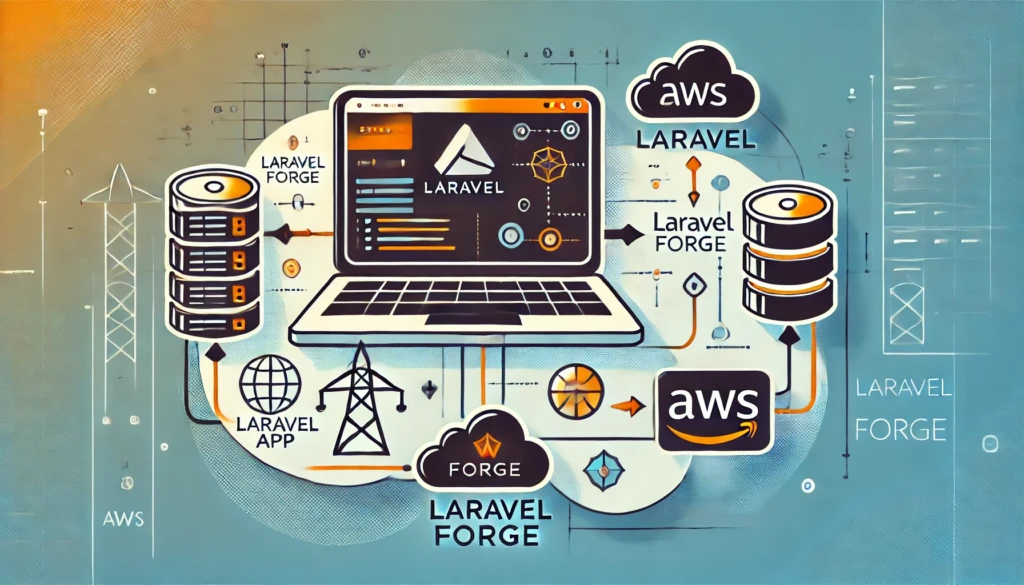
Deploying a Laravel application on AWS using Laravel Forge simplifies server management while providing a reliable and scalable hosting solution. This guide walks you through the process of setting up your Laravel app on AWS EC2, configuring Laravel Forge, and ensuring a seamless deployment experience.
Overview
In this guide, we’ll cover:
- Launching an AWS EC2 instance for your Laravel app.
- Configuring Laravel Forge to manage your server.
- Deploying your Laravel application.
Prerequisites
- An AWS account.
- A Laravel Forge subscription.
- A Laravel application ready for deployment (e.g., in a GitHub repository).
Setting Up AWS
Step 1: Launch an EC2 Instance
In your AWS Management Console:
- Navigate to EC2 > Instances and click Launch Instance.
- Select an Amazon Machine Image (AMI), such as
Ubuntu 22.04 LTS. - Choose an instance type, such as
t2.micro(free tier eligible). - Configure instance details, including VPC and security groups. Open ports 22 (SSH), 80 (HTTP), and 443 (HTTPS).
- Review and launch the instance.
Step 2: Connect to Your EC2 Instance
Configuring Laravel Forge
Step 1: Connect AWS to Laravel Forge
In Laravel Forge:
- Navigate to Servers and click Create Server.
- Choose Custom VPS.
- Enter your EC2 instance's IP address and SSH key information.
- Click Install Forge to configure your server.
Step 2: Configure Your Server
Once Laravel Forge connects to your EC2 instance:
- Set up a default site.
- Enable SSL (via Let's Encrypt) for secure connections.
- Install any necessary software (e.g., PHP, MySQL).
Deploying Your Laravel Application
Step 1: Add Your Laravel Repository
In Forge:
- Navigate to your server and click Sites.
- Click Create Site and enter your domain or subdomain.
- Under Deployment, add your GitHub repository URL.
- Provide your SSH key to authenticate with GitHub.
Step 2: Configure Environment Variables
Add your Laravel environment variables in the Forge UI, including database credentials and application keys:
APP_NAME=Laravel
APP_ENV=production
APP_KEY=base64:your-key
DB_CONNECTION=mysql
DB_HOST=127.0.0.1
DB_PORT=3306
DB_DATABASE=forge
DB_USERNAME=forge
DB_PASSWORD=your-password
Step 3: Deploy the Application
Click Deploy in Forge to start the deployment process. Forge will:
- Clone your Laravel repository.
- Run
composer installandphp artisan migrate. - Start serving your application.
Testing Your Laravel Application
After deployment:
- Visit your domain in a browser to ensure your application is live.
- Check logs using the Forge interface for any errors.
- Run additional tests to verify application functionality.
Best Practices for Production
- Enable Automatic Backups: Use Forge’s backup feature to store database snapshots.
- Set Up Monitoring: Monitor server metrics like CPU and memory usage in Forge.
- Optimize Performance: Use
php artisan config:cacheandphp artisan route:cachefor optimized configuration and routing. - Secure Your Server: Regularly update your instance and use a strong SSH key.
So
By following this guide, you’ve deployed a Laravel application on AWS using Laravel Forge. This setup simplifies server management while providing scalability and robust hosting. Explore additional features of Forge, such as scheduled tasks and daemon management, to streamline your development workflow.
Need Expert Help?
We’re here to support you and manage your tasks.
